...is to make it with 1/2 white flour. Not what you wanted to hear? Well, that's how I do it, anyway. I'll post my recipe (Really, it's Mr. Wonderful's Aunt Elaine's recipe, via Mr. W's sister) and method here. If you wanted to try it with a greater ratio of wheat to white, I suggest longer kneading times and punching it down three times (you'll see that in the recipe and pics). Sorry for the mediocre pics, but I was in a very practical mood and just wanted to get it done, so they're not very pretty. Oh well, here we go:
*Important Note*
All the pics below are of the 4 loaf recipe. I only show two loaves in my finish picture, but that's because I decided to freeze the dough for two of the loaves - we'll discuss that more later...
Ingredients for 2 loaves -
3 cups white flour
3 cups wheat flour
2 1/2 teaspoons dry yeast
1/4 cup sugar
2 1/4 cups very warm water
1/2 teaspoon vanilla
1/2 teaspoon of salt
1 egg
2 Tablespoons vegetable or canola oil
Ingredients for 4 loaves -
6 cups white flour
6 cups wheat flour
2 1/2 Tablespoons dry yeast
1/2 cup sugar
4 1/2 cups very warm water
1 teaspoon vanilla
1 teaspoon salt
1 egg
1/4 cup vegetable or canola oil
Instructions -
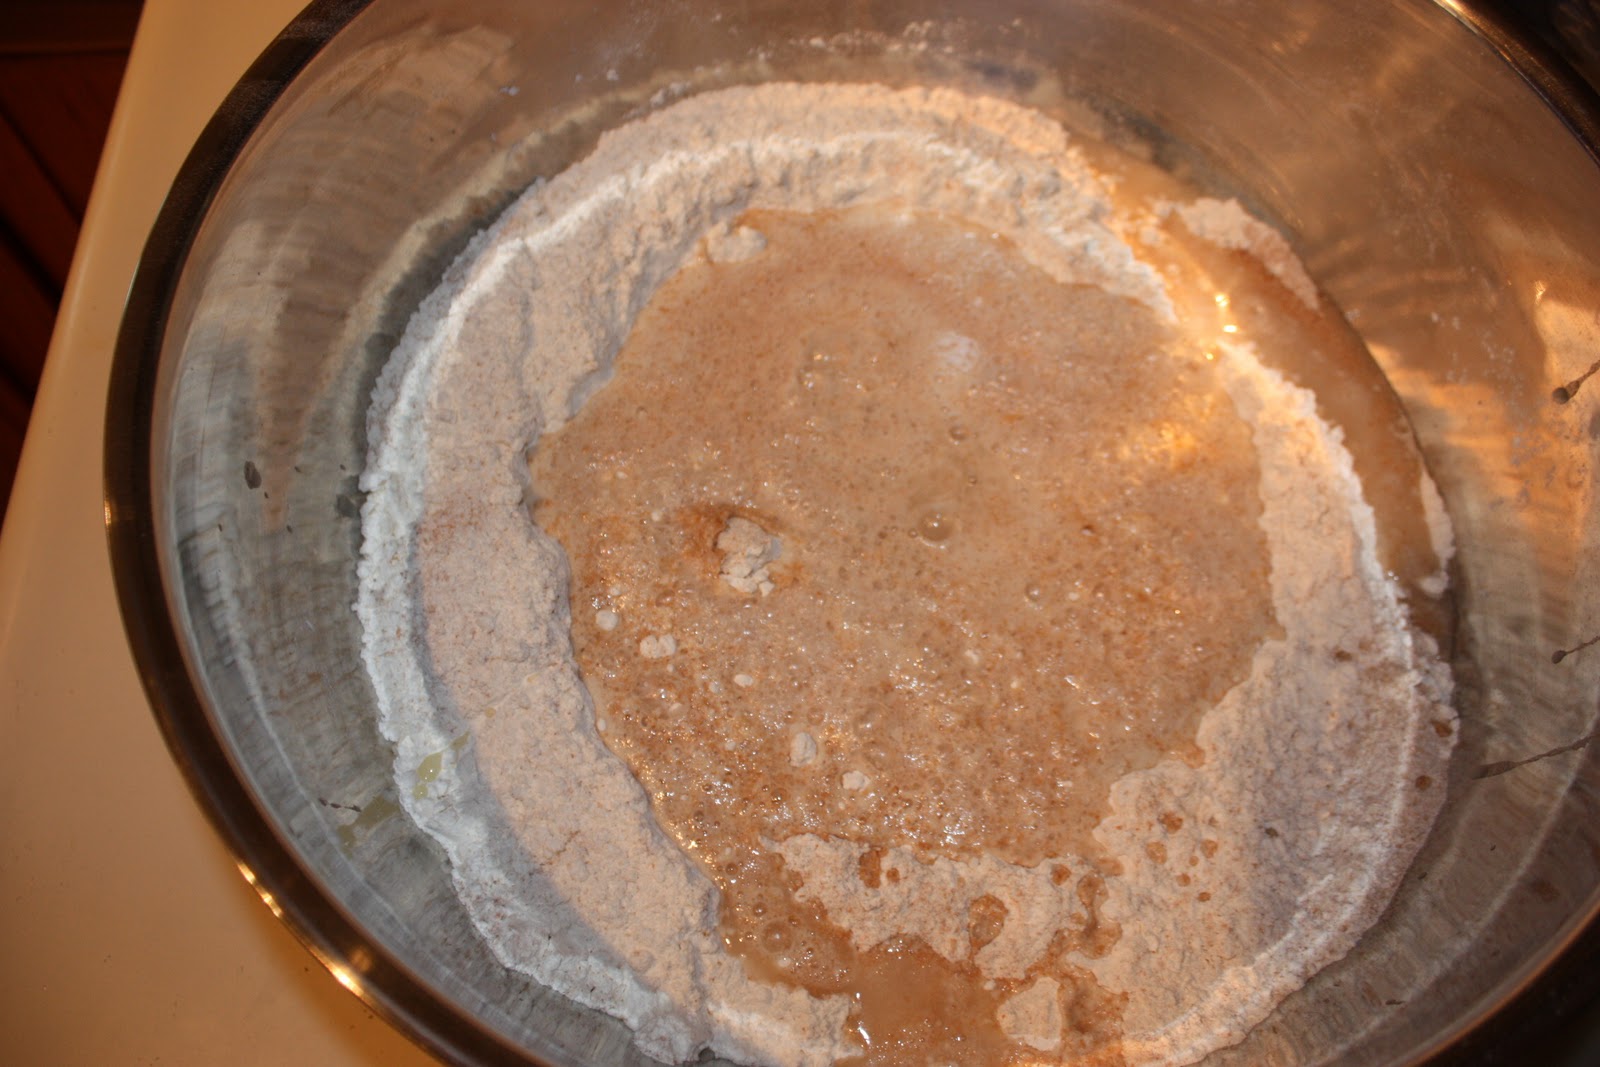
Put all the flour in a large bowl. Make a well (crater?) in the flour.
In a separate bowl, combine water, yeast, sugar, salt, and vanilla.
Let this sit until it gets bubbly on top (see pic below).
Add the bubbly mixture and the egg to the flour and mix well. I use a spoon at first,
until it is mixed enough for me to get my hands in there to pull it out onto a clean surface.
As you can see, the dough comes out of the dough still quite dry, but don't worry.
As you slowly drizzle the oil onto the dough and knead it in a little at a time, your dough will get a lot prettier. I actually don't start timing my kneading until I have worked in all the oil and loose flour.
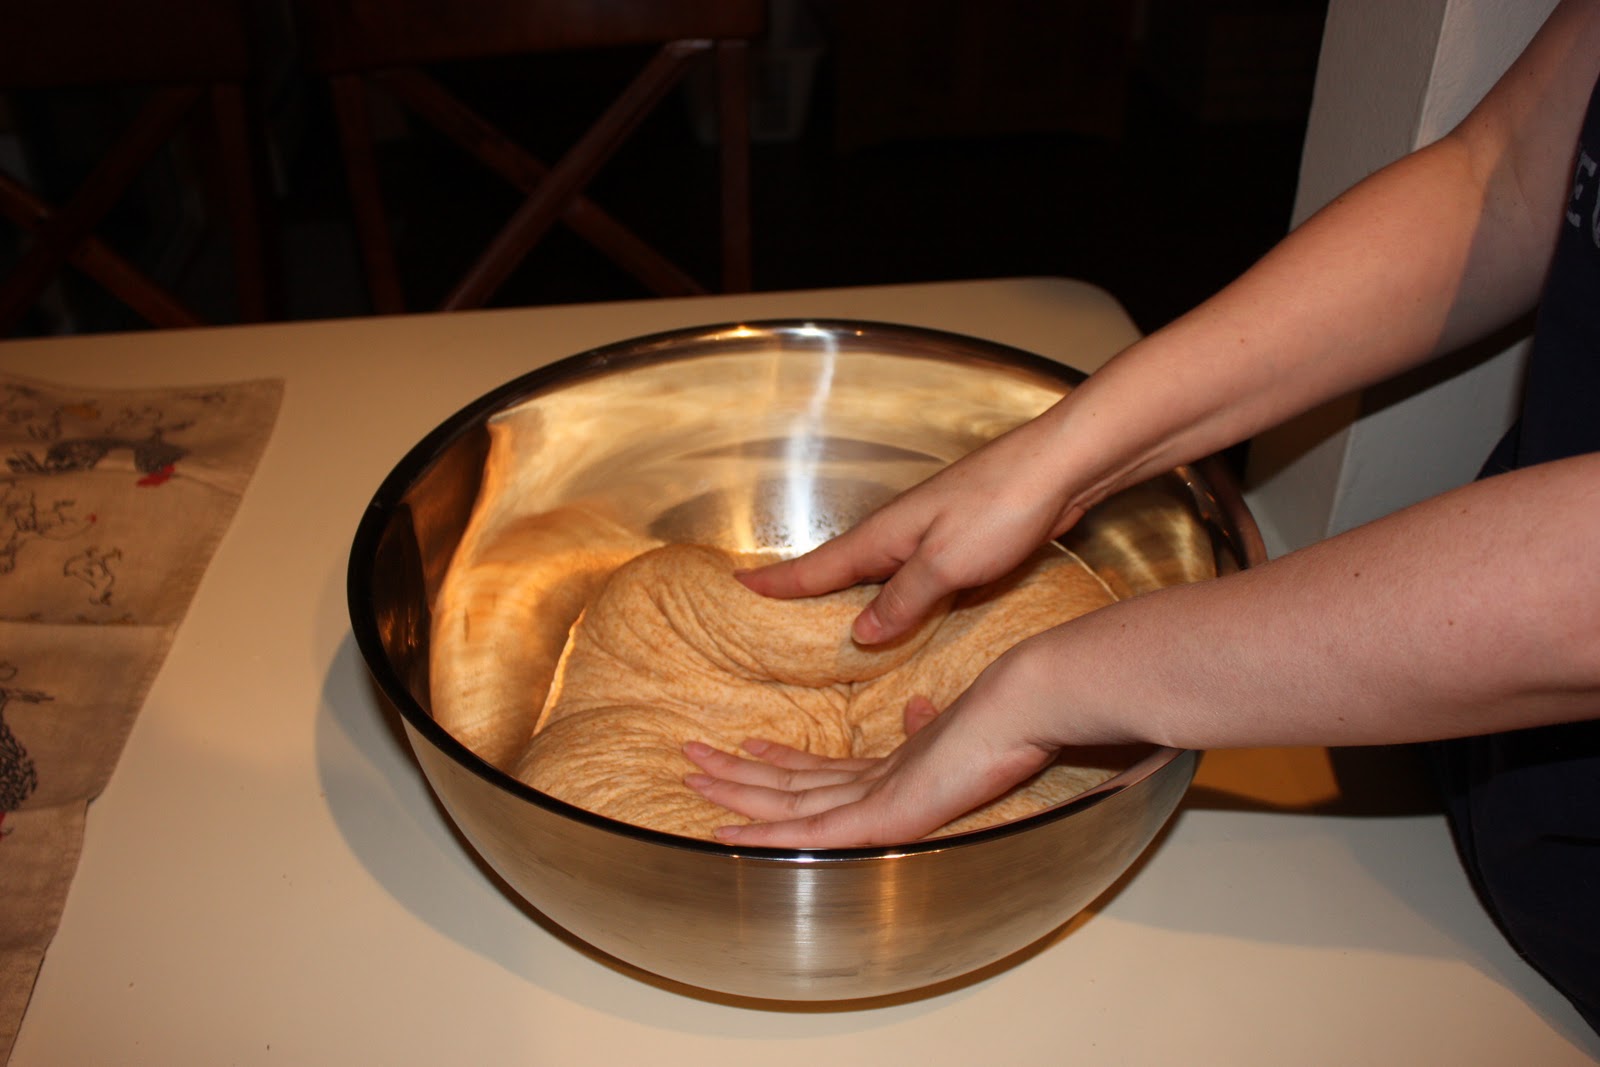
Kneading might seem intimidating, but it's really not that hard. There's no really correct way, just as long as you keep working the dough. I press the heels of my hands in and work it back and forth until it has spread enough to fold back over onto itself and then do it over and over again. I even pick it up and slam it down a few times to break up the monotony and really work that wheat flour (This is the first time I had used fresh ground wheat flour - thanks to my sweet Mr. W and is buff-ness :) ) If you are using more wheat than this, I suggest really beating the snot out of it. Knead the dough for 10 minutes. It's a great arm and shoulder workout, too ;)
When your 10 minutes is finally up, work the dough into a ball and set it in a bowl to rise (I wash and use the same mixing bowl). Oil the top with a couple of more drops of oil (a little goes a long way) so it doesn't dry out. I usually put a clean flour sack towel over the bowl, too, to protect it a little more.
Wait for the dough to double in size.
The time it takes will vary, according to how warm your kitchen is and how fast your yeast is.
This is the fun part. Put your fist right down through the middle of the dough.
This is called punching it down. Pretty straight-forward, right?
Fold the dough in on itself and form it back into a ball. If you are using quick-rising yeast, you are ready to divide the dough into loaves. If you are using regular yeast, oil the top of the ball again and wait for it to double in size so it can be punched down again.
I use a bread knife (quite appropriate, I think) to divide my dough ball into loaves. They are never exactly equal, but you have to learn to be okay with that, or drive yourself nuts. Form these smaller dough balls into loaves and place them seam side (ugly side) down into well-greased bread pans. Oil the tops again and wait for the dough to rise to almost full bread-loaf size, but not all the way. Remember it will rise slightly more in the oven. Place the loaves in a pre-heated 350 degree oven for 20-30 minutes. You'll have to watch it for the last few minutes until the tops are just golden brown.
Ahhhh... the smell of baking bread is intoxicating!! I usually butter the tops of the loaves when they come out. This time I didn't, and they were still perfect.
Now, what about the other two loaves? Well, as soon as I formed the dough into loaves, I wrapped two of them in plastic wrap and then in tinfoil for the freezer. I've wanted to try it for a long time. After all, Rhoade's bake and serve does it, right? Well, they must know something I don't. First, I'm sure using a flash freezer is a big help to them. My freezer? Not so much flash. So a golf ball sized lump pressed it's way out of each wrapped loaf as the dough continued to rise in my freezer. No big deal. After I thawed the dough in the fridge a couple of days later, I just cut off the little freezer-burned part and put my loaves in greased pans to rise. Only... they didn't rise so much... They only rose... raised... rized... -- :p, whatever -- to about half of the desired height. We baked them anyway, and they were still yummy, but crustier than usual and, of course, smaller. Oh well. It was worth a shot. :)